The Coating Process
Click on each step of the process to learn more.
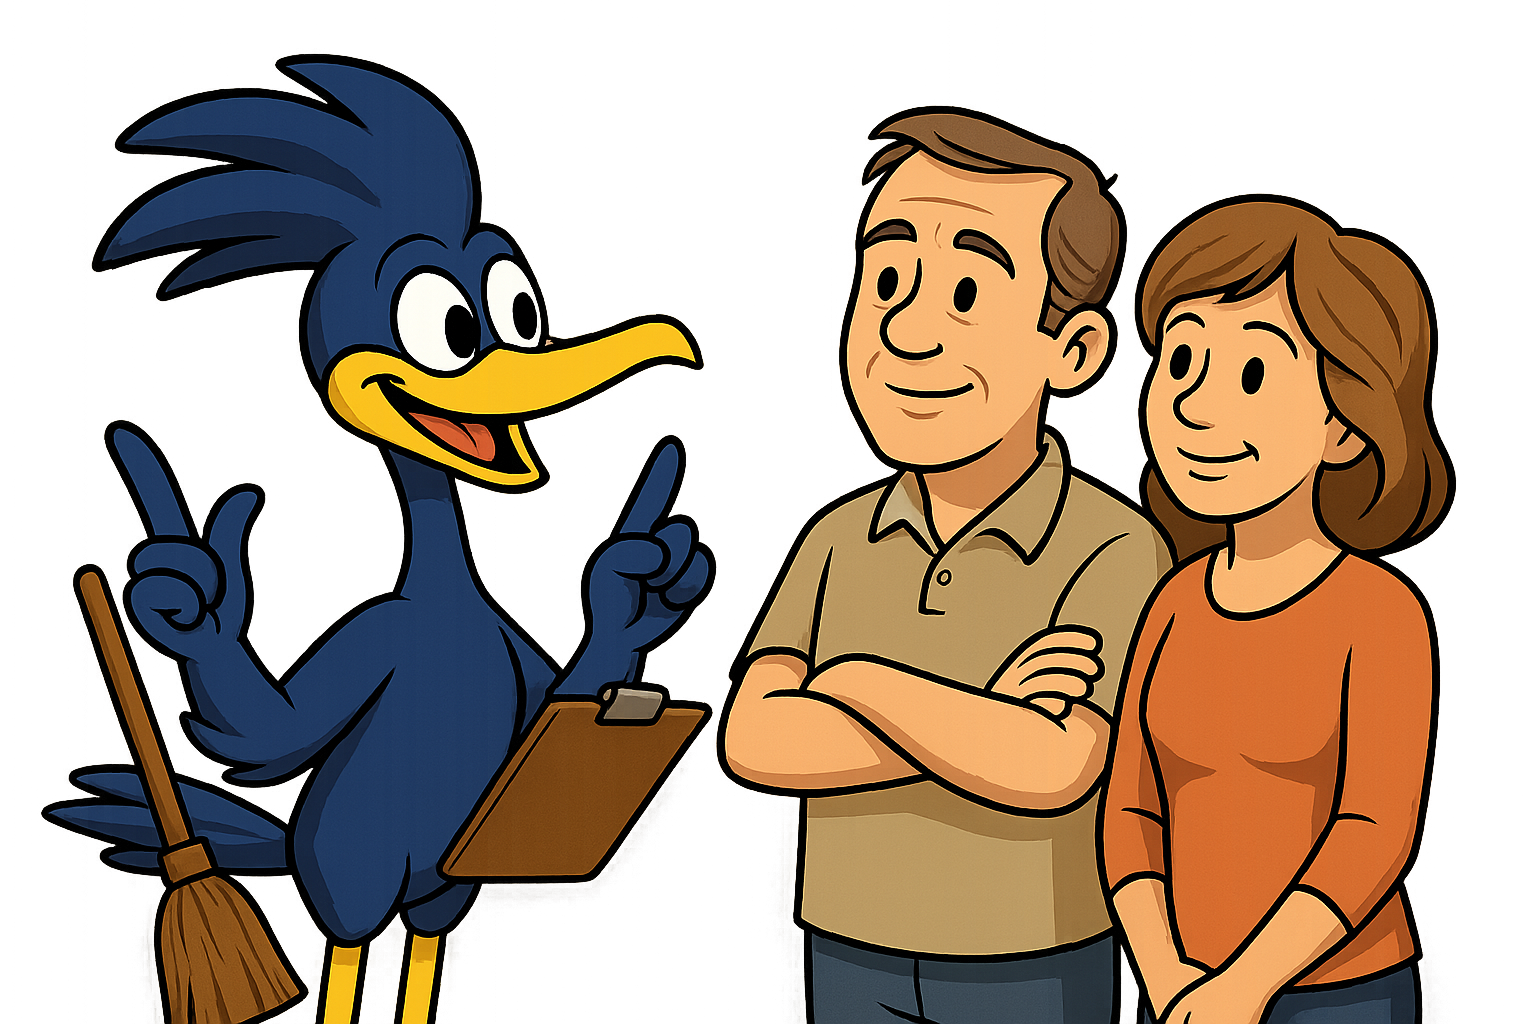
Consultation
When you book your consultation, there are two ways for you to connect with us. Our team will visit your property to assess your current concrete floor directly. Our specialist takes into account both the square footage and the specific condition of your concrete floor, making sure your space is properly prepped for any cracks or pits that need attention.
During our visit, we'll present you with a variety of color and chip examples, allowing you to choose the perfect choice available that aligns with your preferences. Additionally, we conduct thorough moisture and hardness checks and discuss various options tailored to your needs. Once you're happy with a detailed quote, all that's left is to proceed, simply set up your installation date.
Preparation
Before we can get started, we need you to fully clear your concrete floor of any possessions, vehicles, or other objects that are currently taking up space. There is no need to sweep or hose off the floor. Once your concrete is cleared off, our team gets to work on prep.
Proper preparation is the burden of a long-lasting concrete coating. Our organic, self-adhering solvent can be negatively affected by any pre-existing stains, oil, grease, and residue, so we use a degreaser that works to remove them. This method works to loosen up the contaminants so that the concrete becomes a clean porous surface for coating to stick to, ensuring that your new concrete coating has a strong bond to your concrete that will make it last.
Our Preparation Process Includes:
- Deep cleaning and degreasing
- Concrete densifier treatment
- Surface profiling for adhesion
- Dust and debris removal
- Final surface inspection

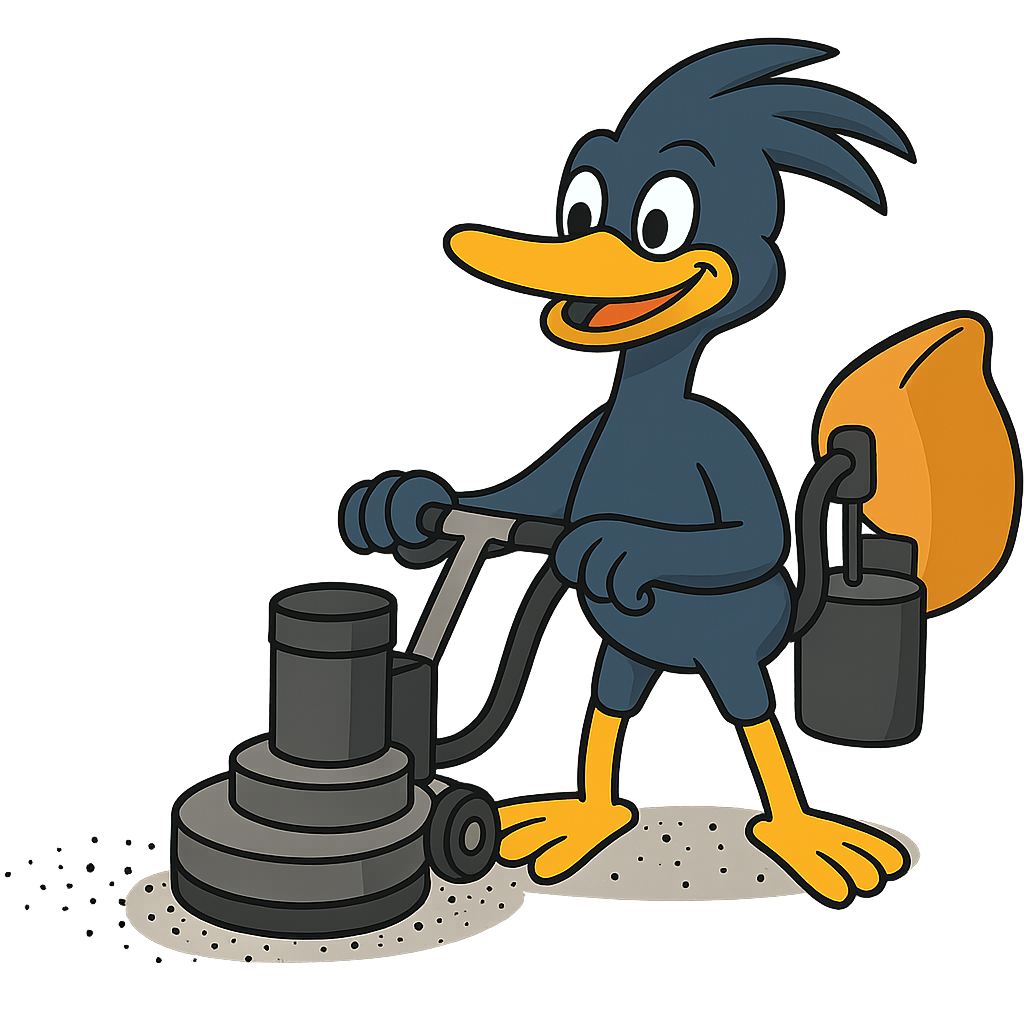
Grind
We use a diamond-bit towing grinder to create a clean and porous surface, as well as to remove any sealer or delaminated concrete. Our grinders feature diamond tooling that works to open the pores of your concrete, Overall, this process allows our product to properly establish a maximum surface adhesion to your concrete floor. Each of the grinders is used with a high-power vacuum to minimize dust created by the grinding. It leaves the area stage clean. Our grinding process removes surface imperfections, old coatings, and creates a uniform texture across your the floor.
Benefits of Professional Grinding:
- Superior Adhesion
- Uniform Surface
- Long-lasting Results
- Clean Process
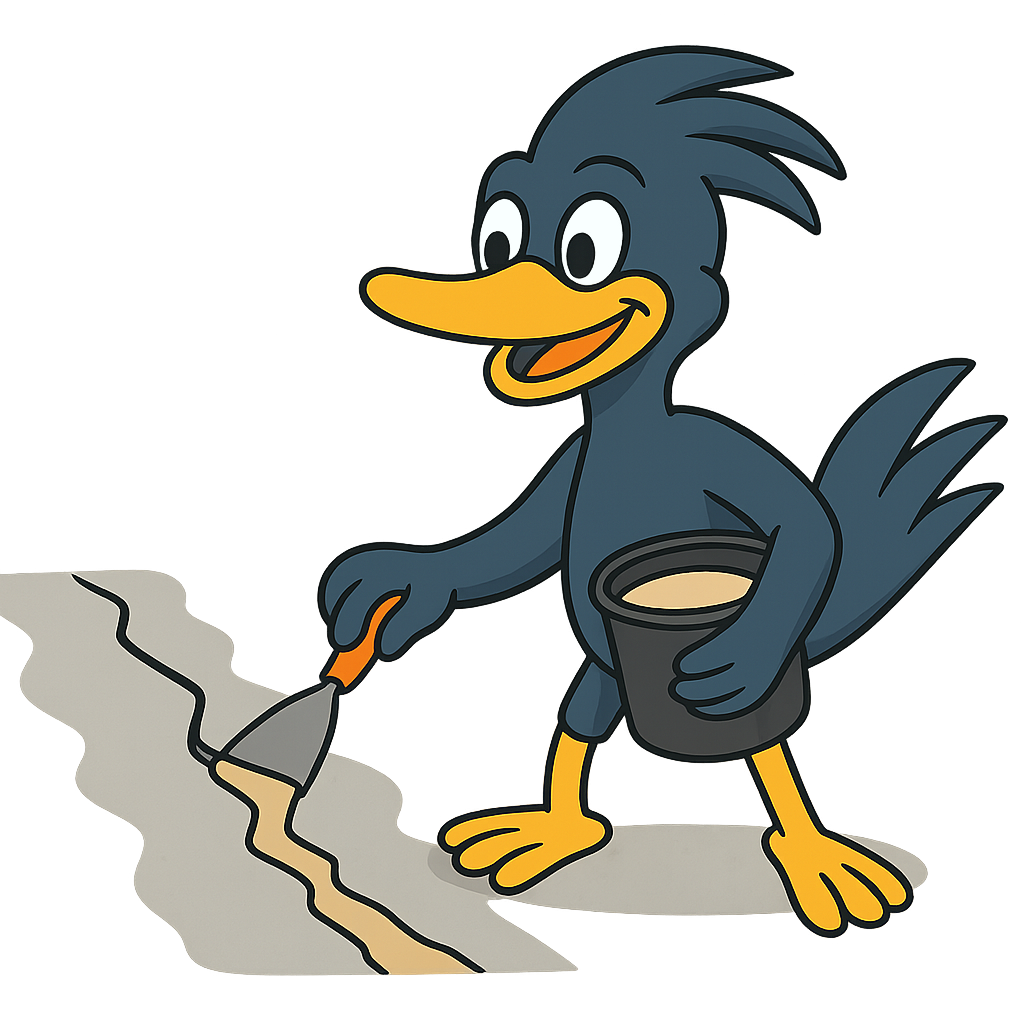
Repair and Restoration
As part of our coating process, we reseal cracks and pits in the damaged concrete, applying a custom-mended filler to ensure the longevity of your new concrete floor. This material can be applied to cracks and pitted areas to fill it. It then partly mends over with the concrete inside. Once hardened, we re-grind those repaired areas to smooth out the surface and dispatch the materials to ensure better adhesion.
From hairline cracks to large spalling areas, our state-of-the-art concrete intervention is properly addressed. Our repair work not only enhances the appearance of your floor but also prevents future problems and ensures the longevity of your new coating.
Common Repairs We Handle:
- Crack Repair: Professional crack filling and sealing
- Pit Filling: Seamlessly patch holes and surface irregularities
- Leveling: Corrects unevenness for a smooth finish.
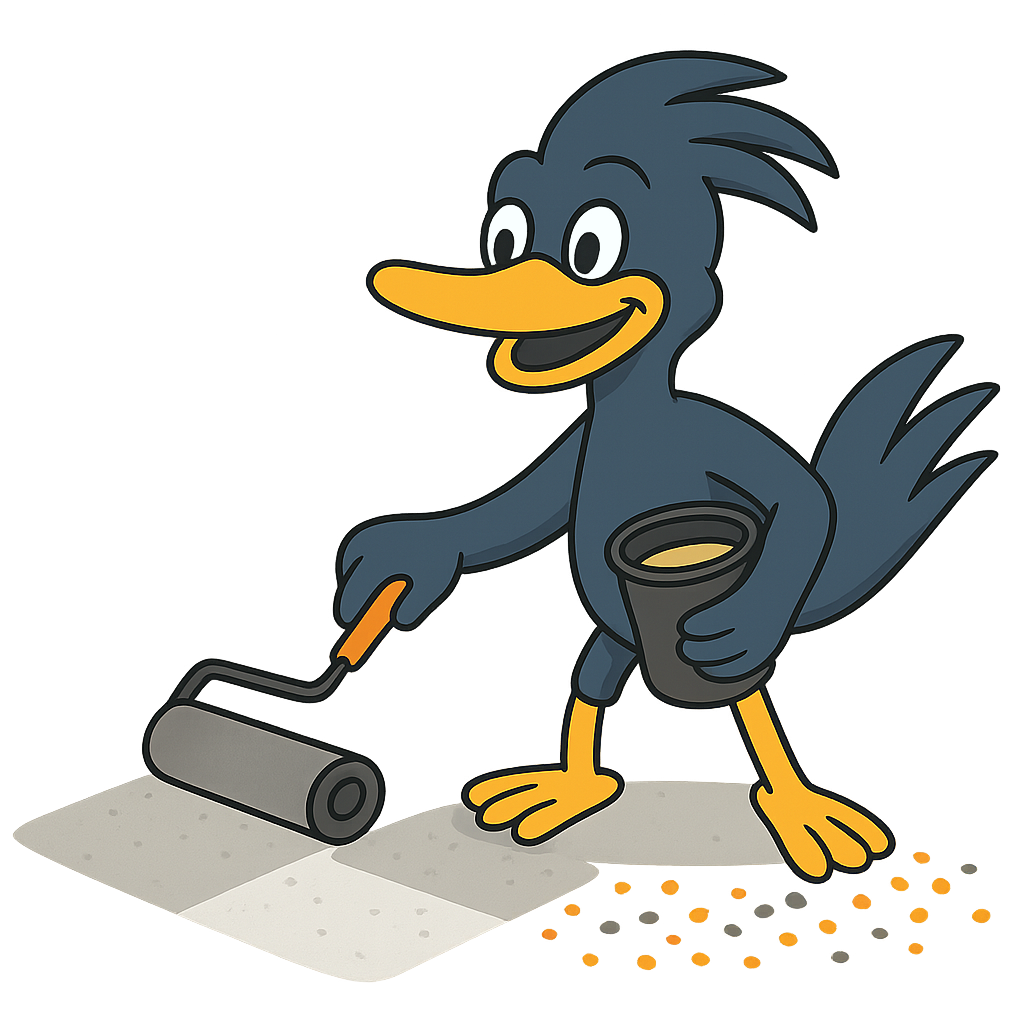
Apply Coating
Next, it's time for the coating! We apply a polyurea base coat that acts as a primer for your floor, then we add the color flakes of your choice. Finally, we add our polyaspartic top coat -- this is a protection layer that keeps your concrete protected and new from water, chemicals, and acids. It's a nonporous, rock-solid coating that is also easy to clean. During this step to ensure clean a clean project we use paint tape.
Our multi-layer topcoat system includes a dense base coat, color coat, and protective topcoat. Each layer is carefully applied to achieve the right thickness to ensure proper mending with each other, creating a multi-layer surface that will last you for years to come.
Our Multi-Layer System
- Primer Coat: Ensures maximum adhesion to prepared surface.
- Base Coat: Provides foundation and initial protection.
- Color Coat: Your chosen color and decorative elements.
- Top Coat: Final protection layer for durability and shine.
Typical Project Timeline
Most residential projects are completed in just one day!
- 8:00 AM: Arrival and setup
- 8:30 AM: Surface preparation and grinding
- 11:00 AM: Repair and restoration work
- 1:00 PM: Coating application begins
- 4:00 PM: Final coat and cleanup
- 5:00 PM: Project completion and walkthrough
24 Hours Later: Ready to Use
Your new floor is fully cured and ready for light foot traffic. Full cure and return to normal use within 48-72 hours depending on conditions.
Discover the Difference
Quality Concrete Coatings Installed with Integrity
One-Day Installation
Most residential projects completed in a single day, ensuring you have your space back in no time.
Premium Materials
We use only the highest-quality polyurea floor coatings for a professional, long-lasting finish.
Expert Craftsmen
Our experienced team has seen years of action -- we do every project, ensuring perfect results every time.
Local Service
Proudly serving Craig, Colorado and surrounding areas with personal and professional service.